Provisioning a New Azure SQL Database Server Using PowerShell
This article shows you how to create an Azure SQL Database services using Azure PowerShell.
Prerequisites
Before you begin this tutorial, you must have the following:
- Azure Subscription, if you don’t already have an Azure subscription,create a free account .
- Azure Data Studio(ADS) with PowerShell Extension, in this tutorial, we will use ADS to edit and run PowerShell scripts, and establish a connection to your Azure SQL Server, see How to use PowerShell in Azure Data Studio.
In this tutorial, we will look at the following:
- Provisioning a New Microsoft Azure SQL Database Server.
- Configuring a firewall rule for a Microsoft Azure SQL Database Server.
- Connecting to a Microsoft Azure SQL Database Server using ADS.
Steps:
1. Authenticate your Azure subscription, then start the creation process as follows.
First of all, you have to connect to your subscription using the Connect-AzAccount cmdlet.
Connect-AzAccount
Running this command will open a Microsoft login window, as shown in figure 1.0. Log in using your Azure subscription creentials
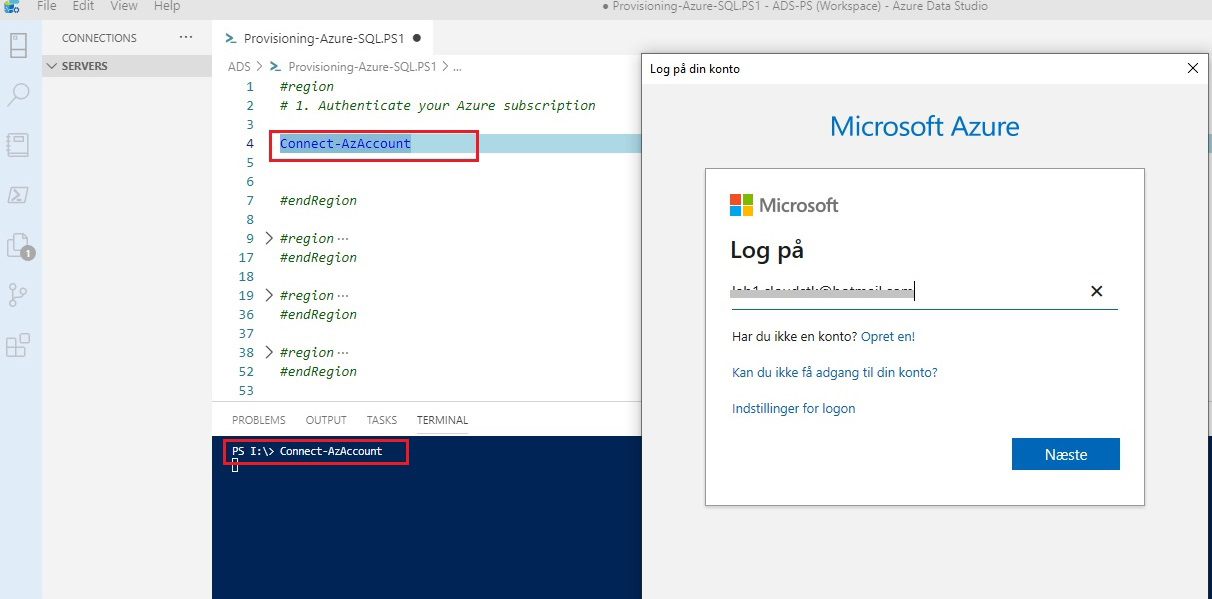
Figure 1.0: Connect to your Azure subscription.
On completion of a successful login, it will display the following information, as shown below figure 1.1
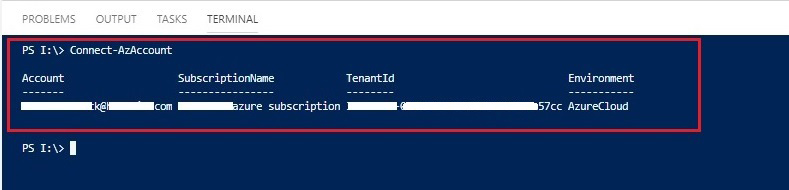
Figure 1.1: Successful login information.
2. Create a new resource group
In this step, we will create an Azure Resource Group by using just a Name and Location parameters.
$parameters    = @{
Name           = 'azsqldb-demo-rg'
Location       = 'northeurope'
}
New-AzResourceGroup @parameters
You can see the output as shown in figure 2.
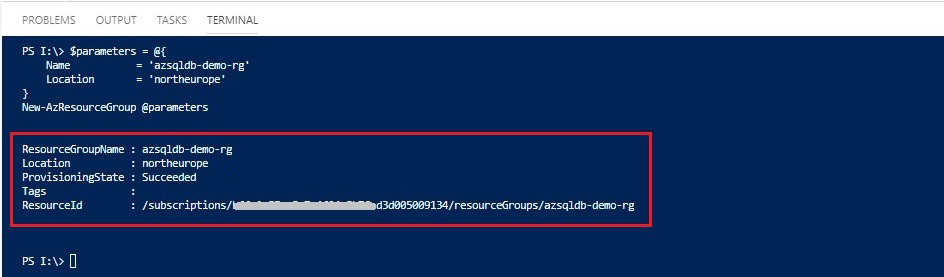
Figure 2: The creation of an Azure Resouce Group.
3. Create an Azure SQL Server
To create an Azure SQL Server instance, we use the following parameters:
 $Username = "cloudstksql"
 $Password = "pa$$w@rd1" | ConvertTo-SecureString -AsPlainText -Force
 $Cred     = New-Object System.Management.Automation.PSCredential($Username,$Password)
 $parameters = @{
    ResourceGroupName           = 'azsqldb-demo-rg'
    ServerName                  = 'cloudstksqlserver'
    Location                    = 'northeurope'
    SqlAdministratorCredentials = $cred
    ServerVersion               = '12.0'
  }
New-AzSqlServer @parameters
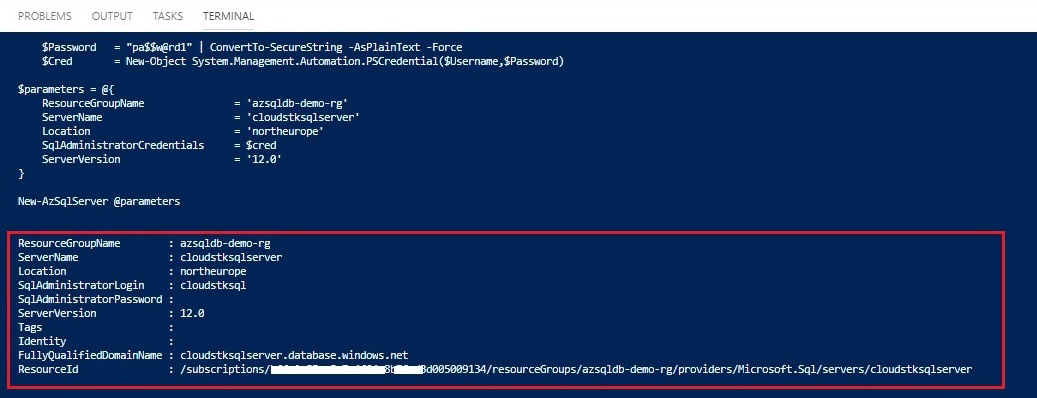 Figure 3 : The creation of an Azure Resouce Group.
The server is ready, in the next step, we will create an Azure SQL Database.
4. Create an Azure SQL Database Let’s start with the creation of a new Azure SQL Database with the following parameters.
   $parameters = @{
      ResourceGroupName               = 'azsqldb-demo-rg'
      ServerName                      = 'cloudstksqlserver'
      DatabaseName                    = 'cloudstkdemodb'
      RequestedServiceObjectiveName   = 'S0'
    }
    New-AzureRmSqlDatabase @parameters
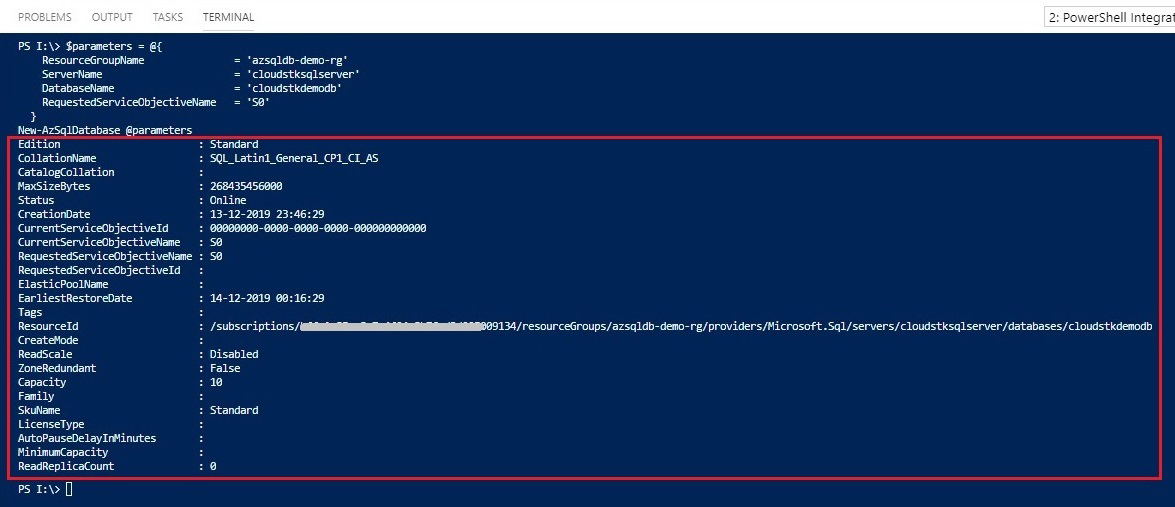
Figure 4: The creation of an Azure Resouce Group.
5. Setting up Firewall rules To allow inbound access for an Azure SQL Server, you must add a specific IPs to the Azure SQL Server firewall rules.
In this demo, we’re going to define a specific IP address(your machine’s IP) to connect SQL Azure.
You can set up a firewall rule with the following parameters:
$parameters = @{
ResourceGroupName  = 'azsqldb-demo-rg'
ServerName         = 'cloudstksqlserver'
FirewallRuleName   = 'AllowedClientIP'
StartIpAddress     = 'xxx.xxx.xxx.xxx'
EndIpAddress       = 'xxx.xxx.xxx.xxx'
}

New-AzSqlServerFirewallRule @parameters
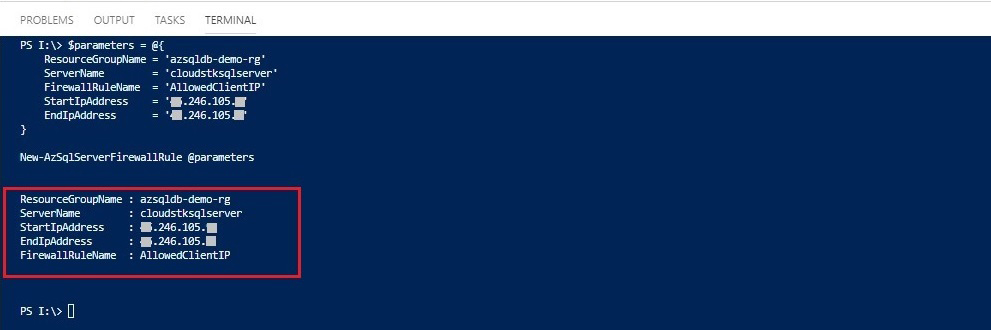
Figure 5: Setting up Firewall rules.
You’re now ready to connect to your Azure SQL Server from your specified IP address.
6. Connecting to Azure SQL from Azure Data Studio(ASD) To connect to Azure SQL server from ASD, you will need to perform the following steps:
- On the Servers menu, Click on New Conenction to open the Connection pane, as shown figure 6.
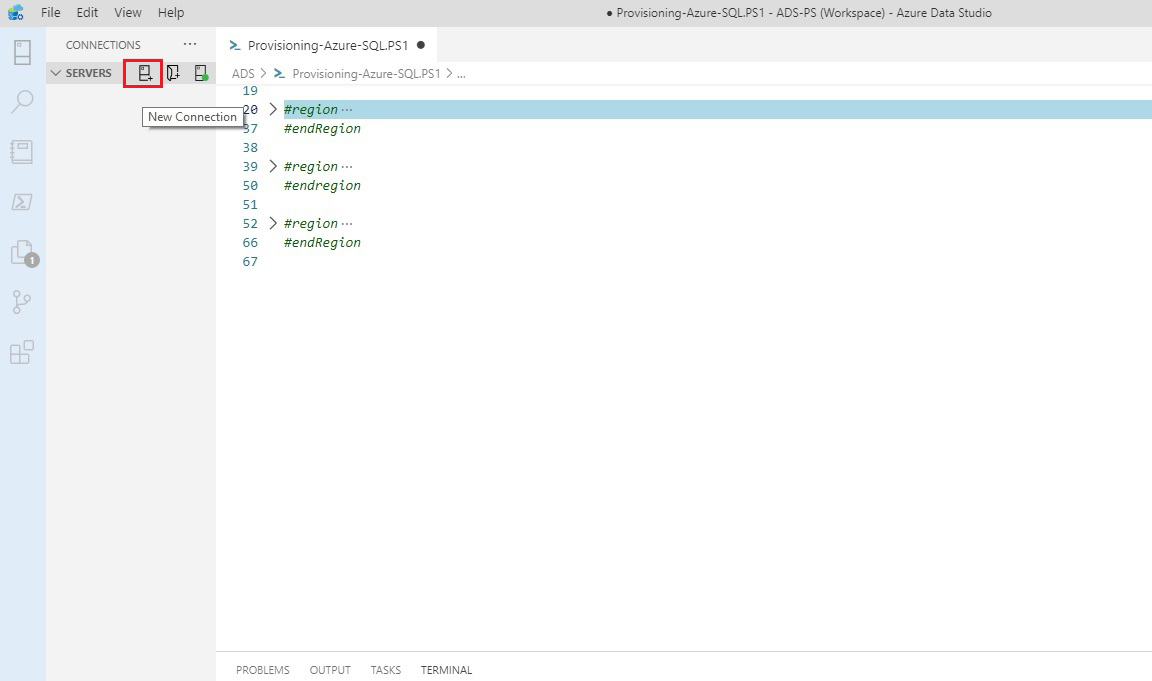
Figure 6 : Click on New Connection.
- Fill in the following fields using the server name, user name, password and then click on Connect button to connect to Azure SQL server.
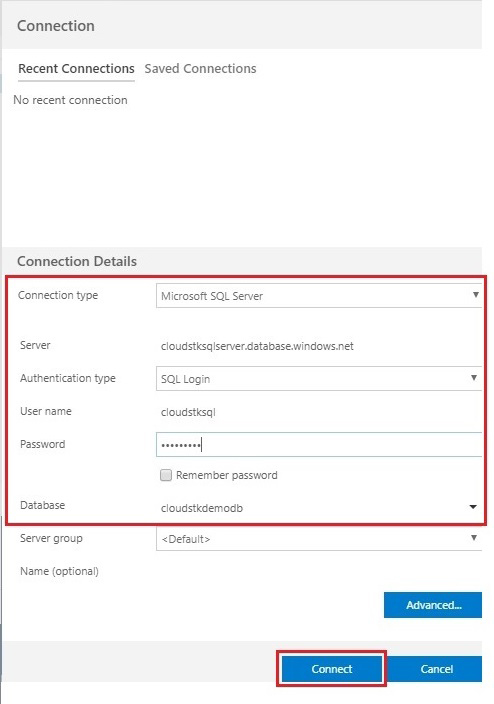
Figure 6.1: Connection pane.
Once successfully connected to the Server, the new cloudstkdemodb appears in the list of databases, as shown in figure 6.2.
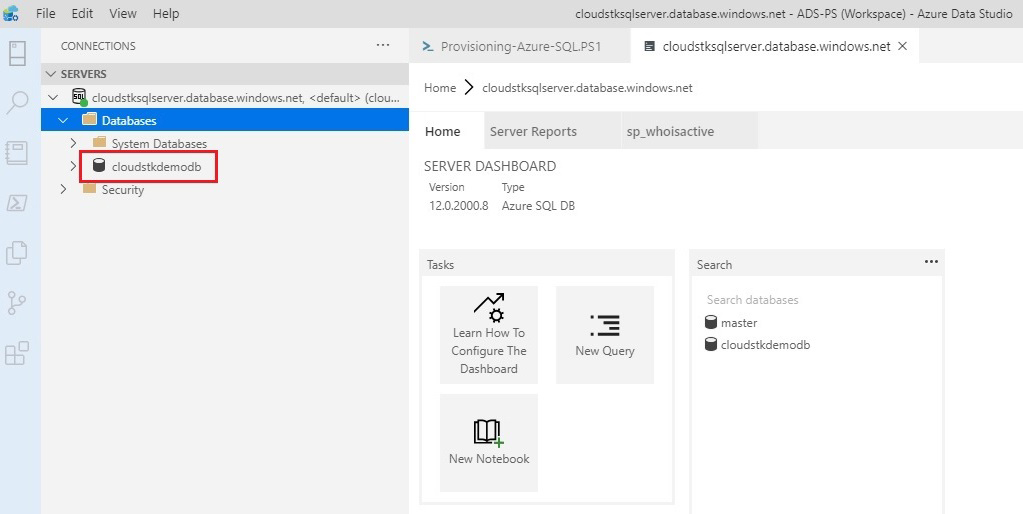
Figure 6.2: An Azure SQL server Object Explorer.
7. Clean up development
Use the Remove-AzResourceGroup cmdlet to remove the resoruce group. It will removes the ‘azsqldb-demo-rg’ resouce group and all resouces associated with it from the subscription.
Remove-AzResourceGroup -ResourceGroupName 'azsqldb-demo-rg'
This command prompts you for confirmation to delete the resouce group.
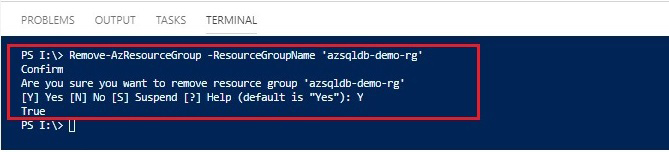
Figure 7: Delete the resource group.
You can download the PowerShell file from GitHub https://github.com/cloudstk/Powershell/blob/master/provisioning-a-new-azure-sqlserver-db.ps1
In this article, we have looked at how to create an Azure SQL server database using PowerShell. We have also set up the firewall rules and finally, connected an Azure SQL Server with Azure Data Studio.


0 Comments